Welcome to our guide on activating LIVEARf for your online store!
In this blog, we’ll walk you through the activation process step by step, ensuring you can seamlessly integrate LIVEARf into your store.
Step 1: Navigate to the “Apps” section from the left panel of your store’s dashboard. Search for the LIVEARf app and proceed to install it. Once installed, simply click on the app to access the LIVEARf dashboard.

Step 2: Once you’re on the LIVEARf dashboard, locate and select the “Activation” menu from the left side panel.

Step 3: Click on the “Download Categories” button and then proceed by clicking the “Next” button.

Step 4: From the list of categories, choose your “Business” category. After selecting, click on “Save” and then the “Next” button to proceed.

Step 5: If your store has more than 5000 products, select ‘Yes‘ when prompted. If not, choose ‘No‘. After making your selection, click on the ‘Next’ button to proceed

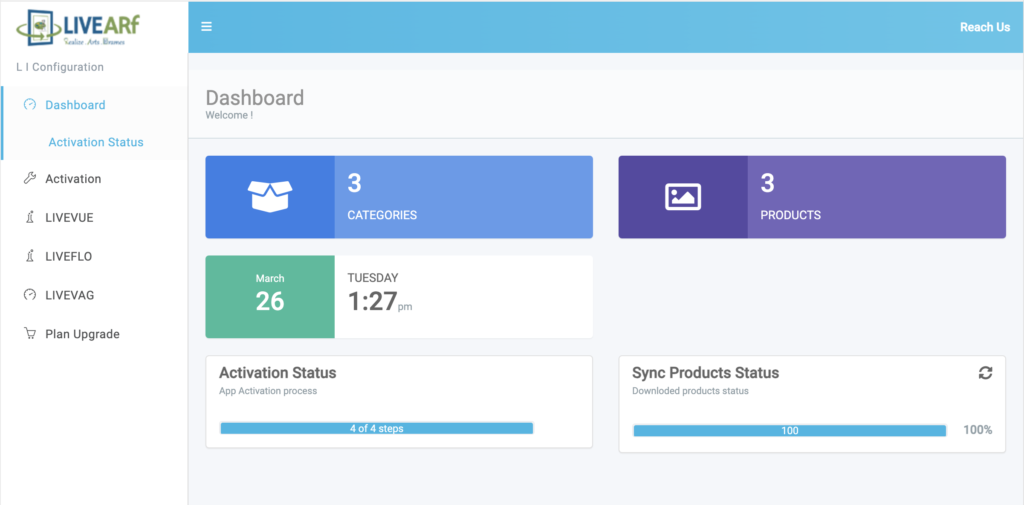
Step 6: To finalize the configuration, click on the “Sync All Products” button. This will ensure that all new products are configured with the LIVEARf app.

You’ve successfully activated LIVEARf for your online store.