A Guide to Activating LIVEVUE for Your Online Store!
LIVEVUE allows customers to virtually construct custom frames for their favorite moments or artworks. we’ll guide you through each step of the LIVEVUE activation process
Step 1: Navigate to the LIVEVUE menu in your LIVEARf’s dashboard. From there, select the “LIVEVUE Activation” submenu to begin the activation process.

Step 2: Set Catalog ID
This step involves setting up LIVEVUE to enable virtual framing for specific product categories.
The following steps will guide you to set the catalog ID
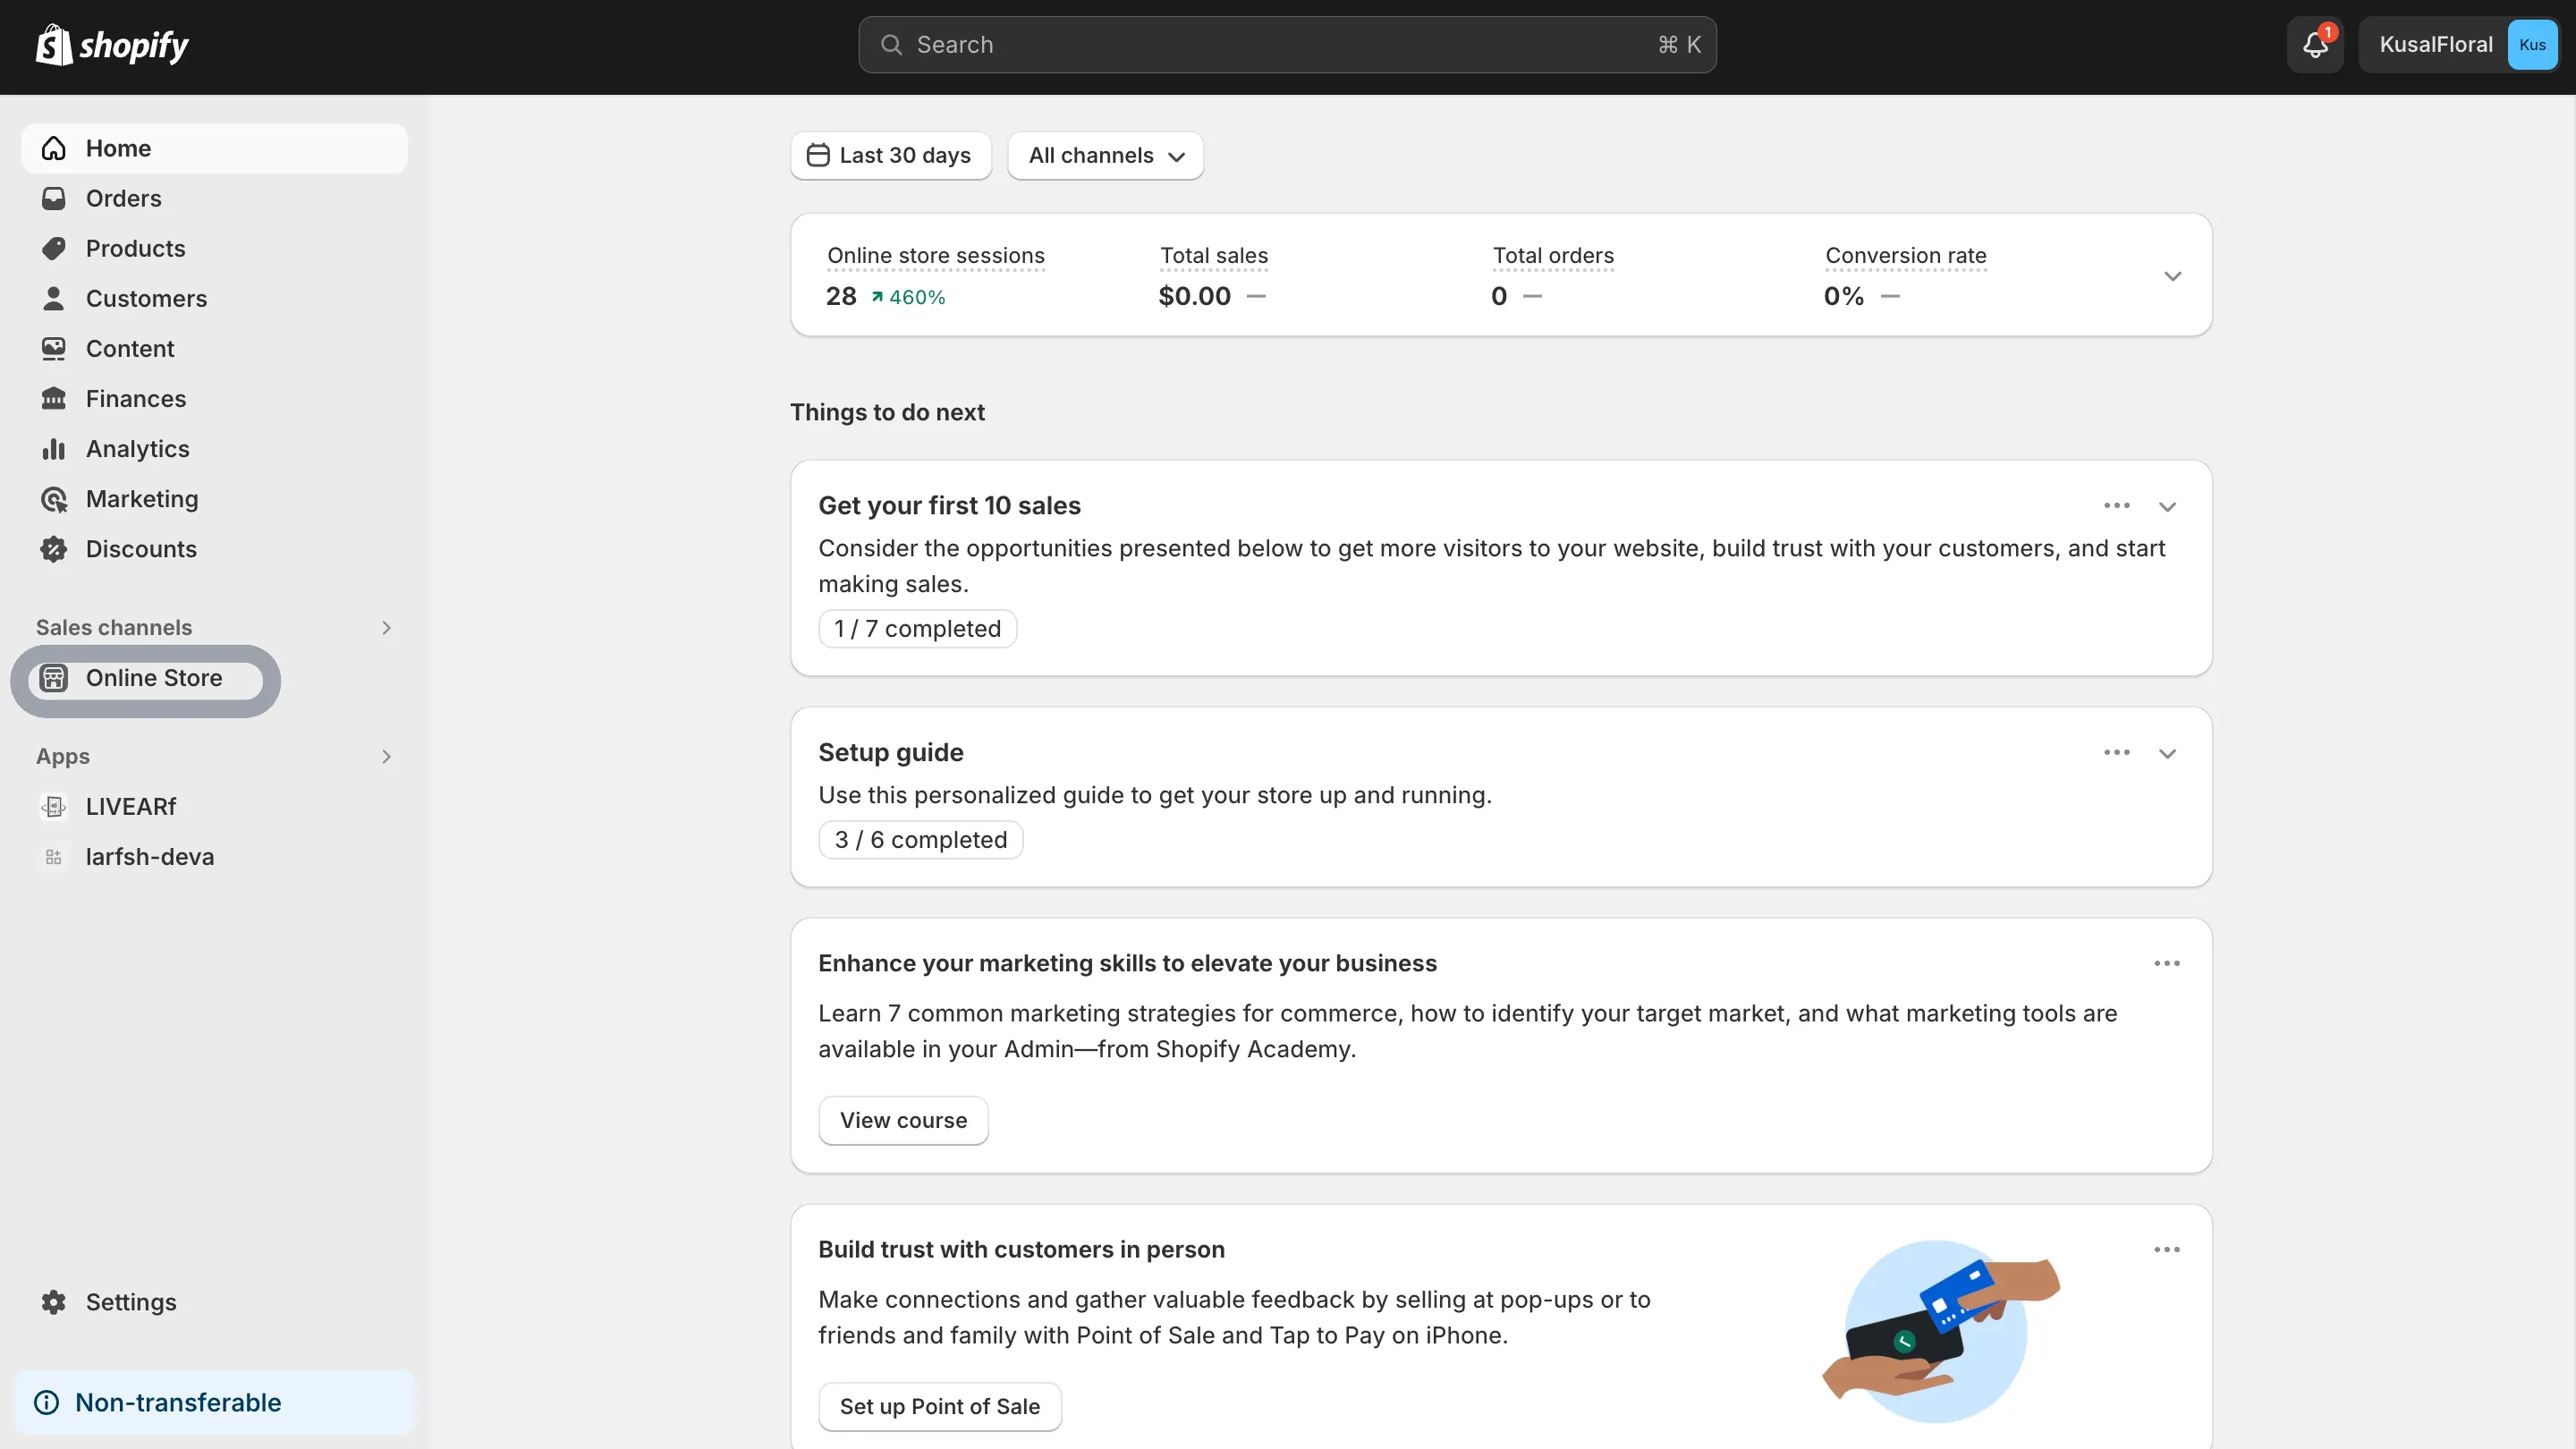
- Select “Online Store” under the “Sales Channel” menu on the Shopify admin page.
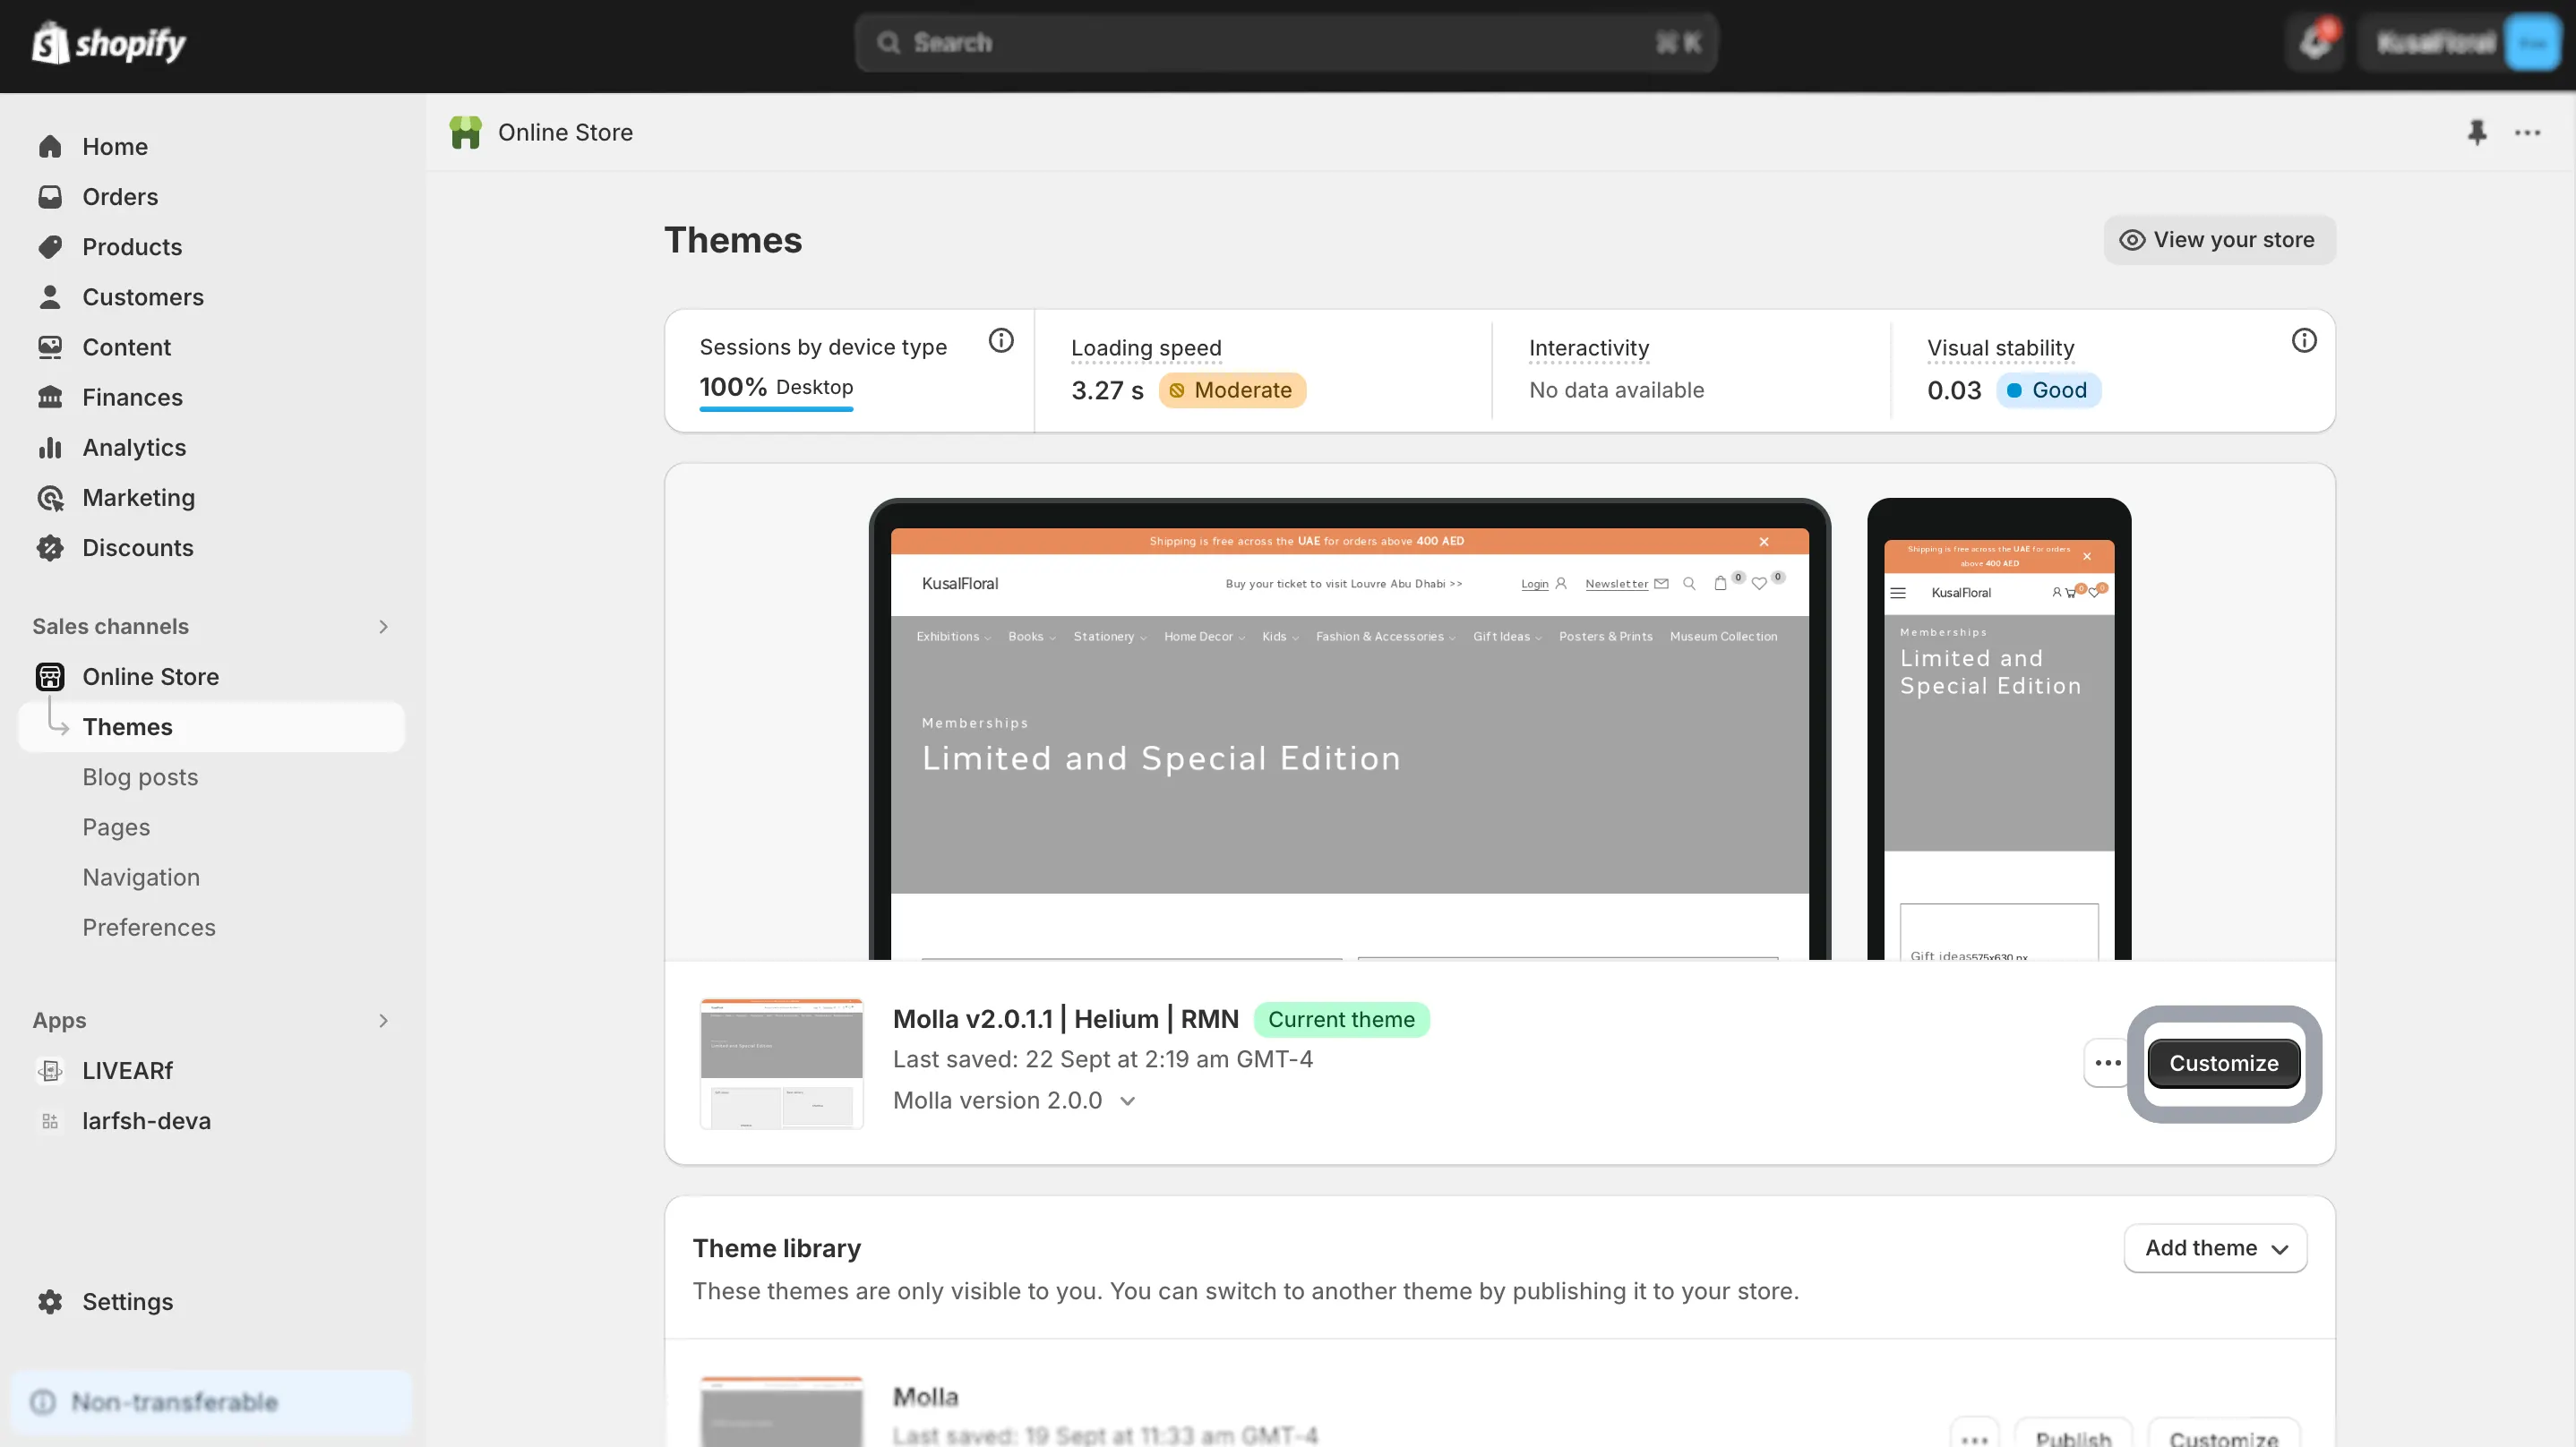
- Next, navigate to “Themes” and click on the “Customize” button.
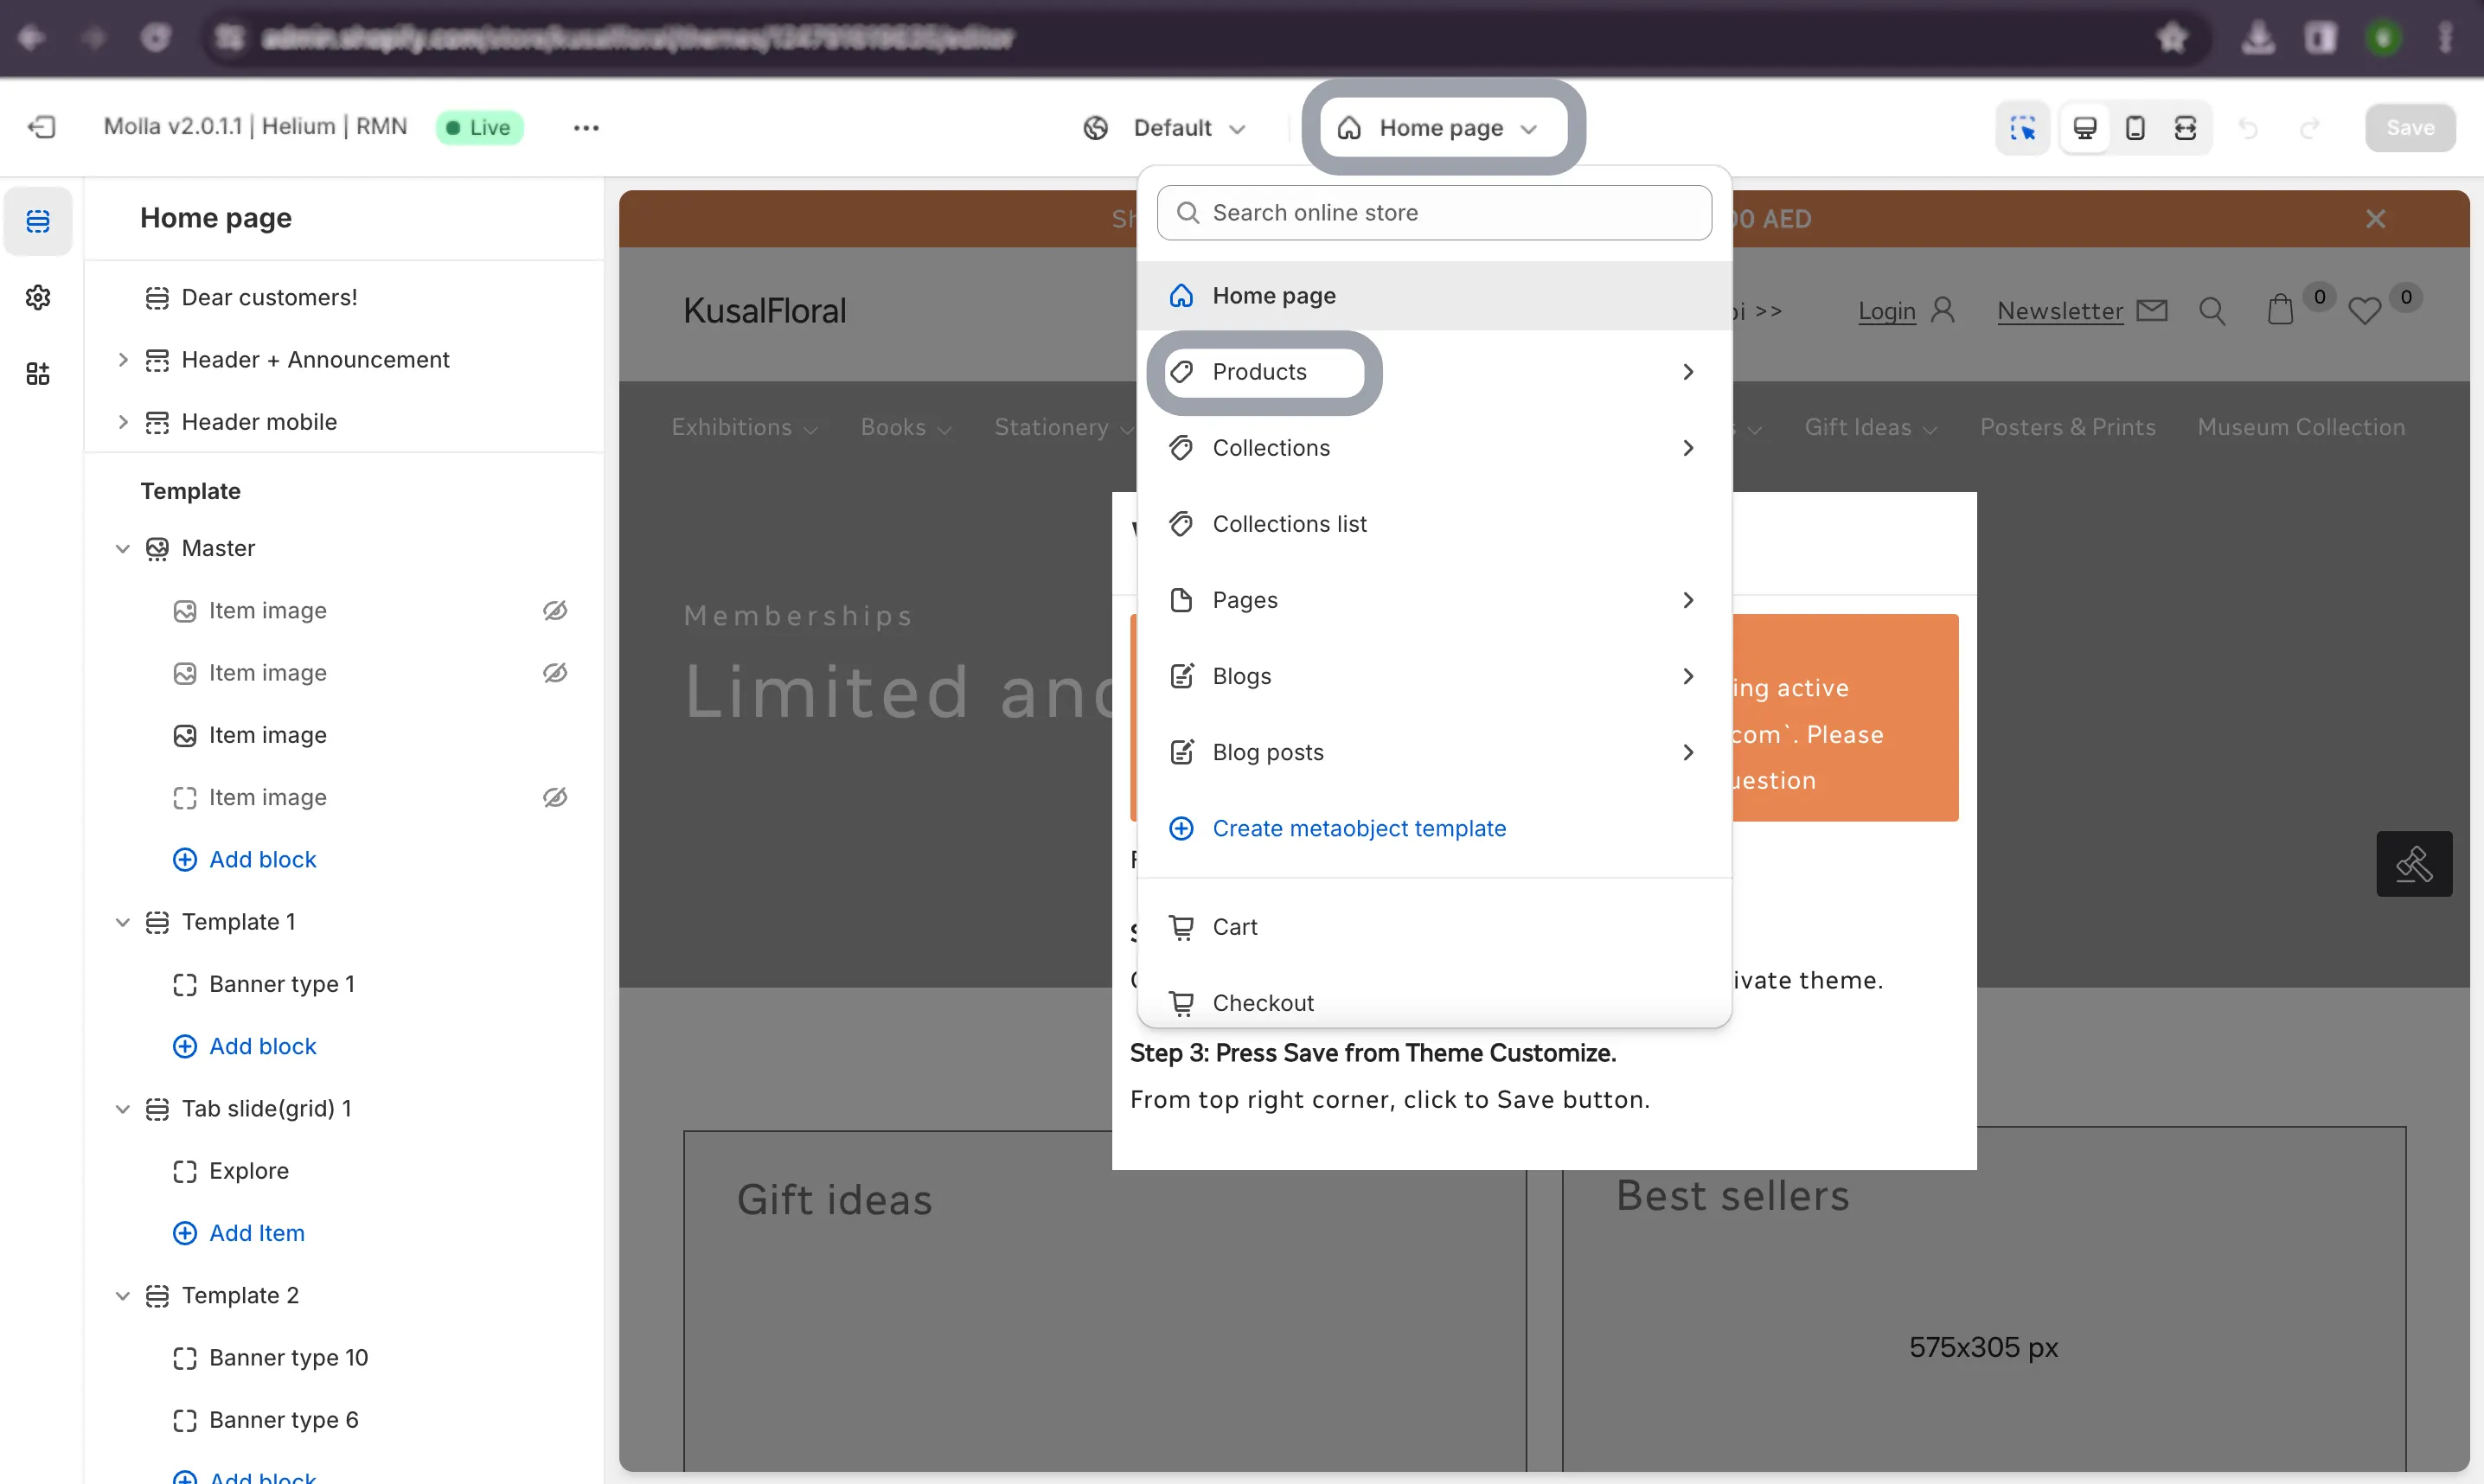
- In the customization menu, click on “Home Page” then select “Products.“
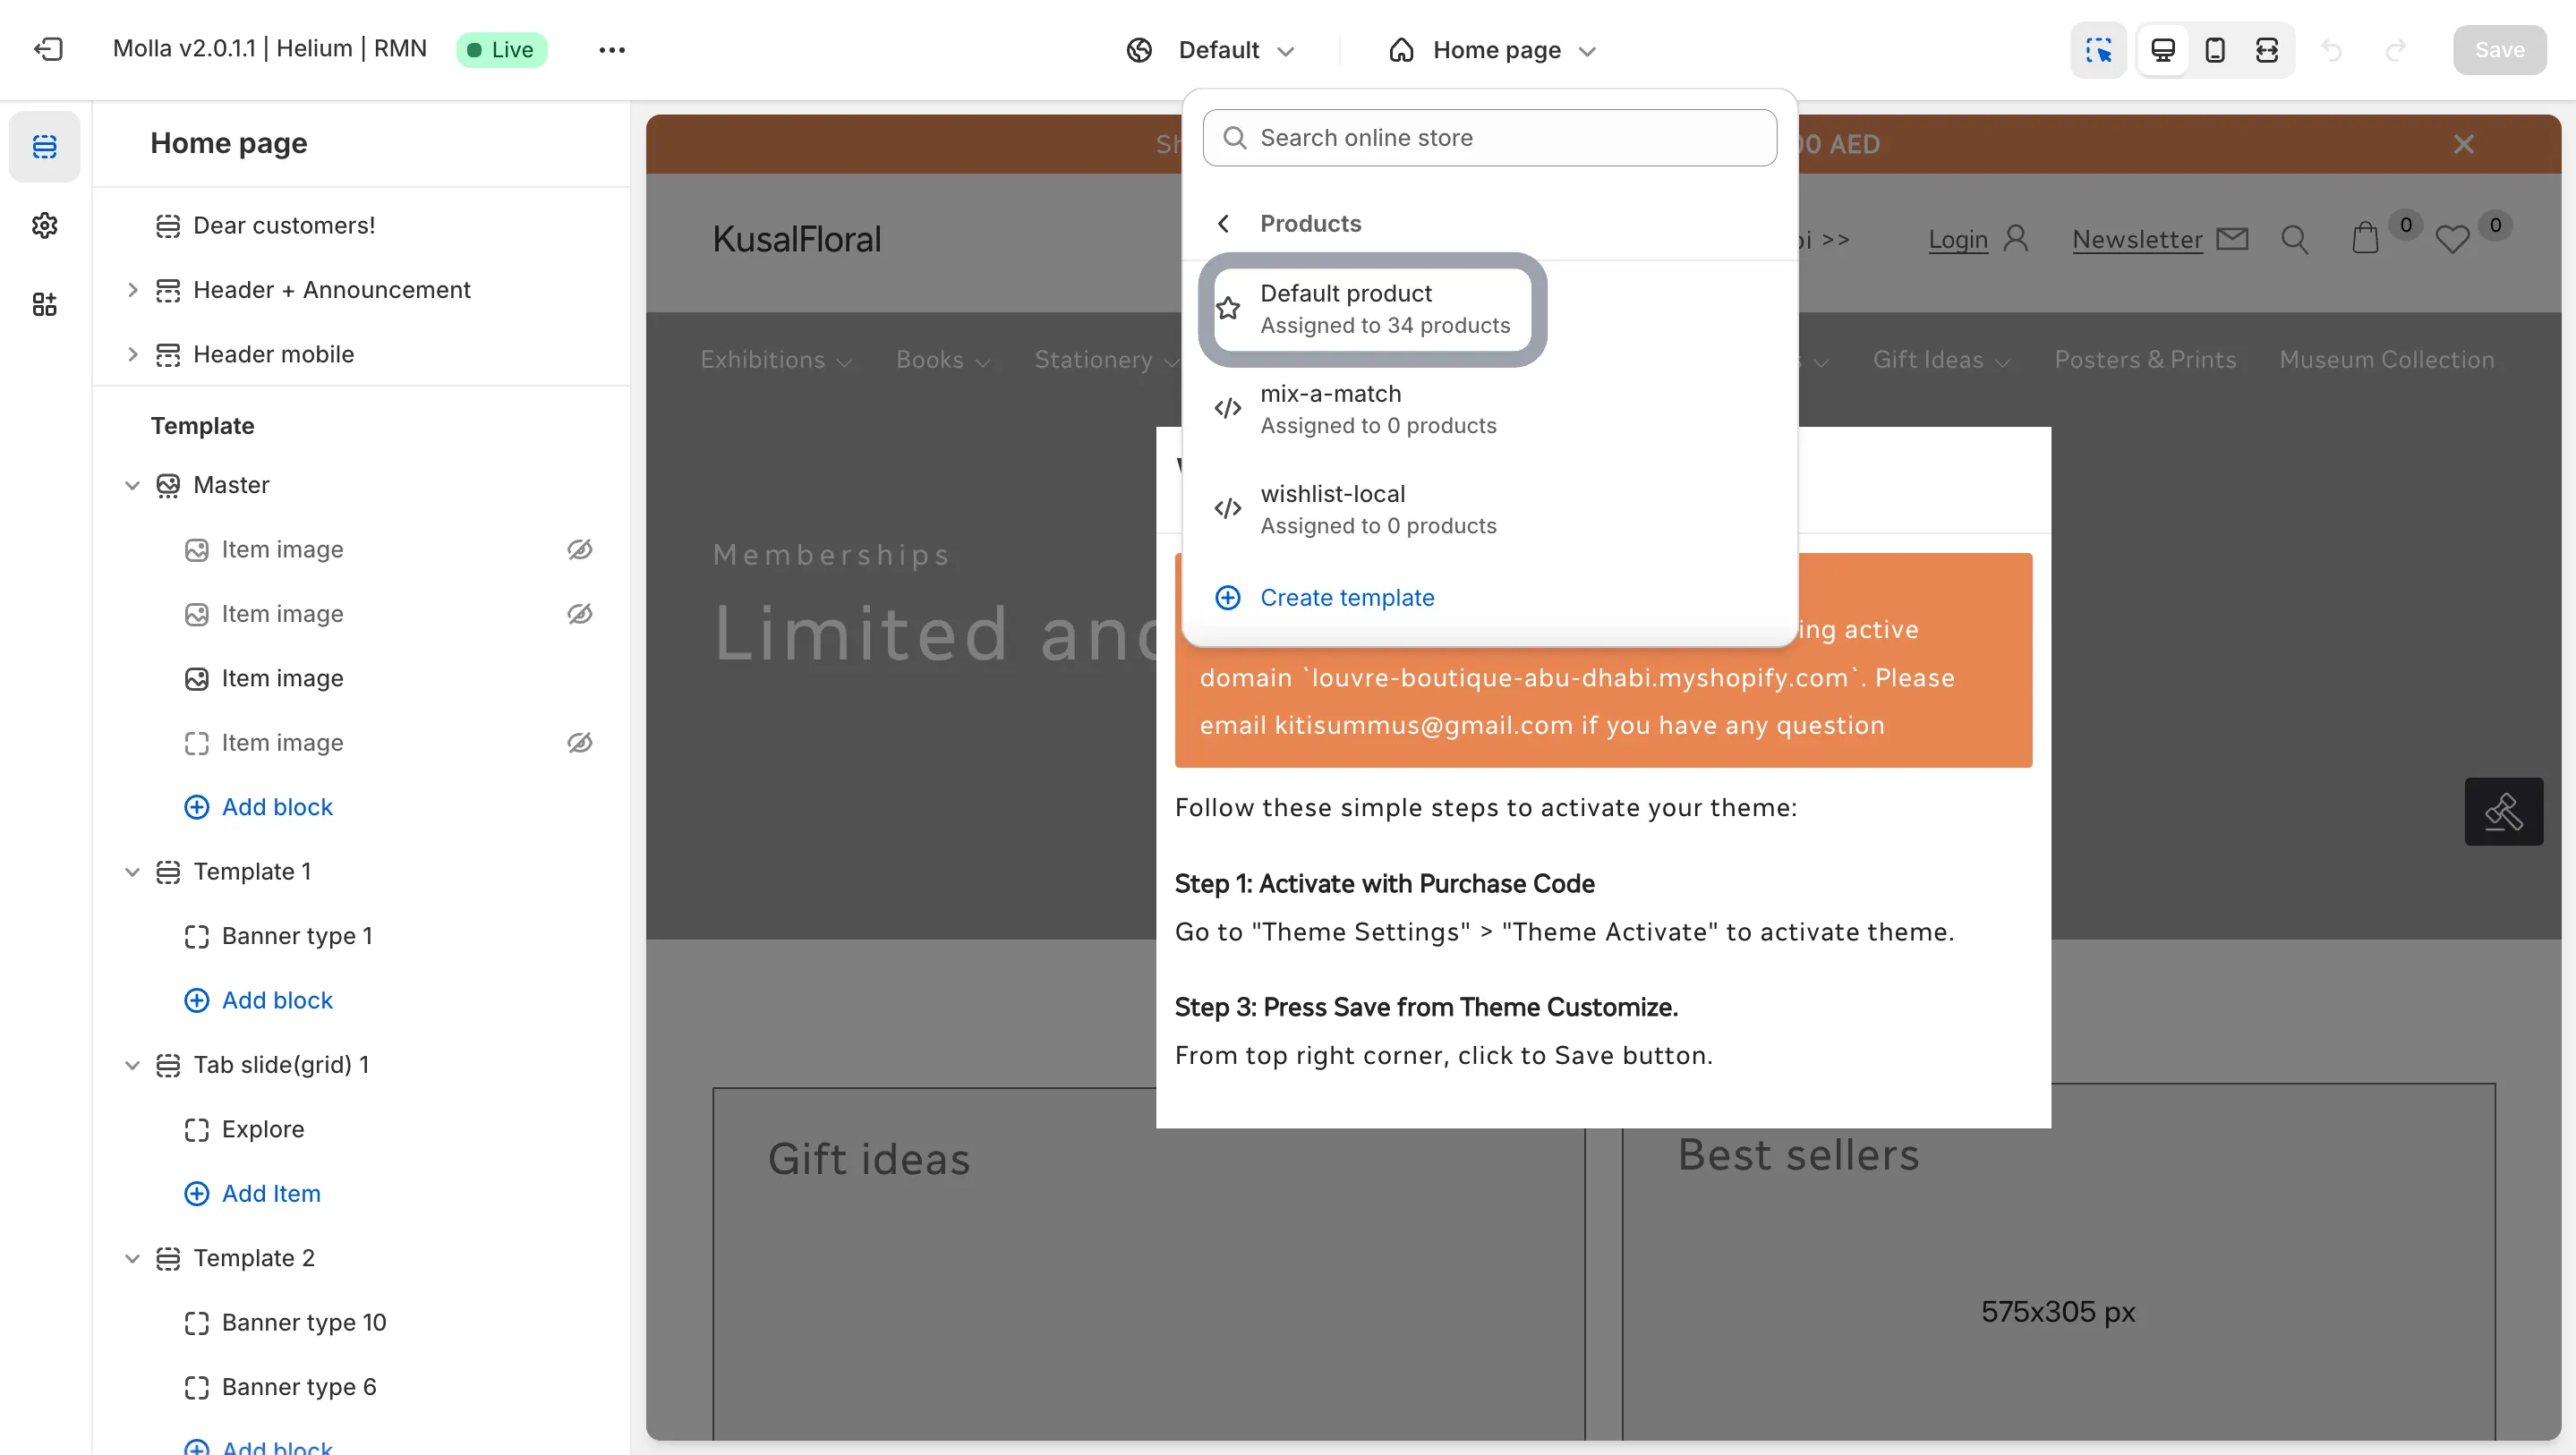
- Click on the default product.
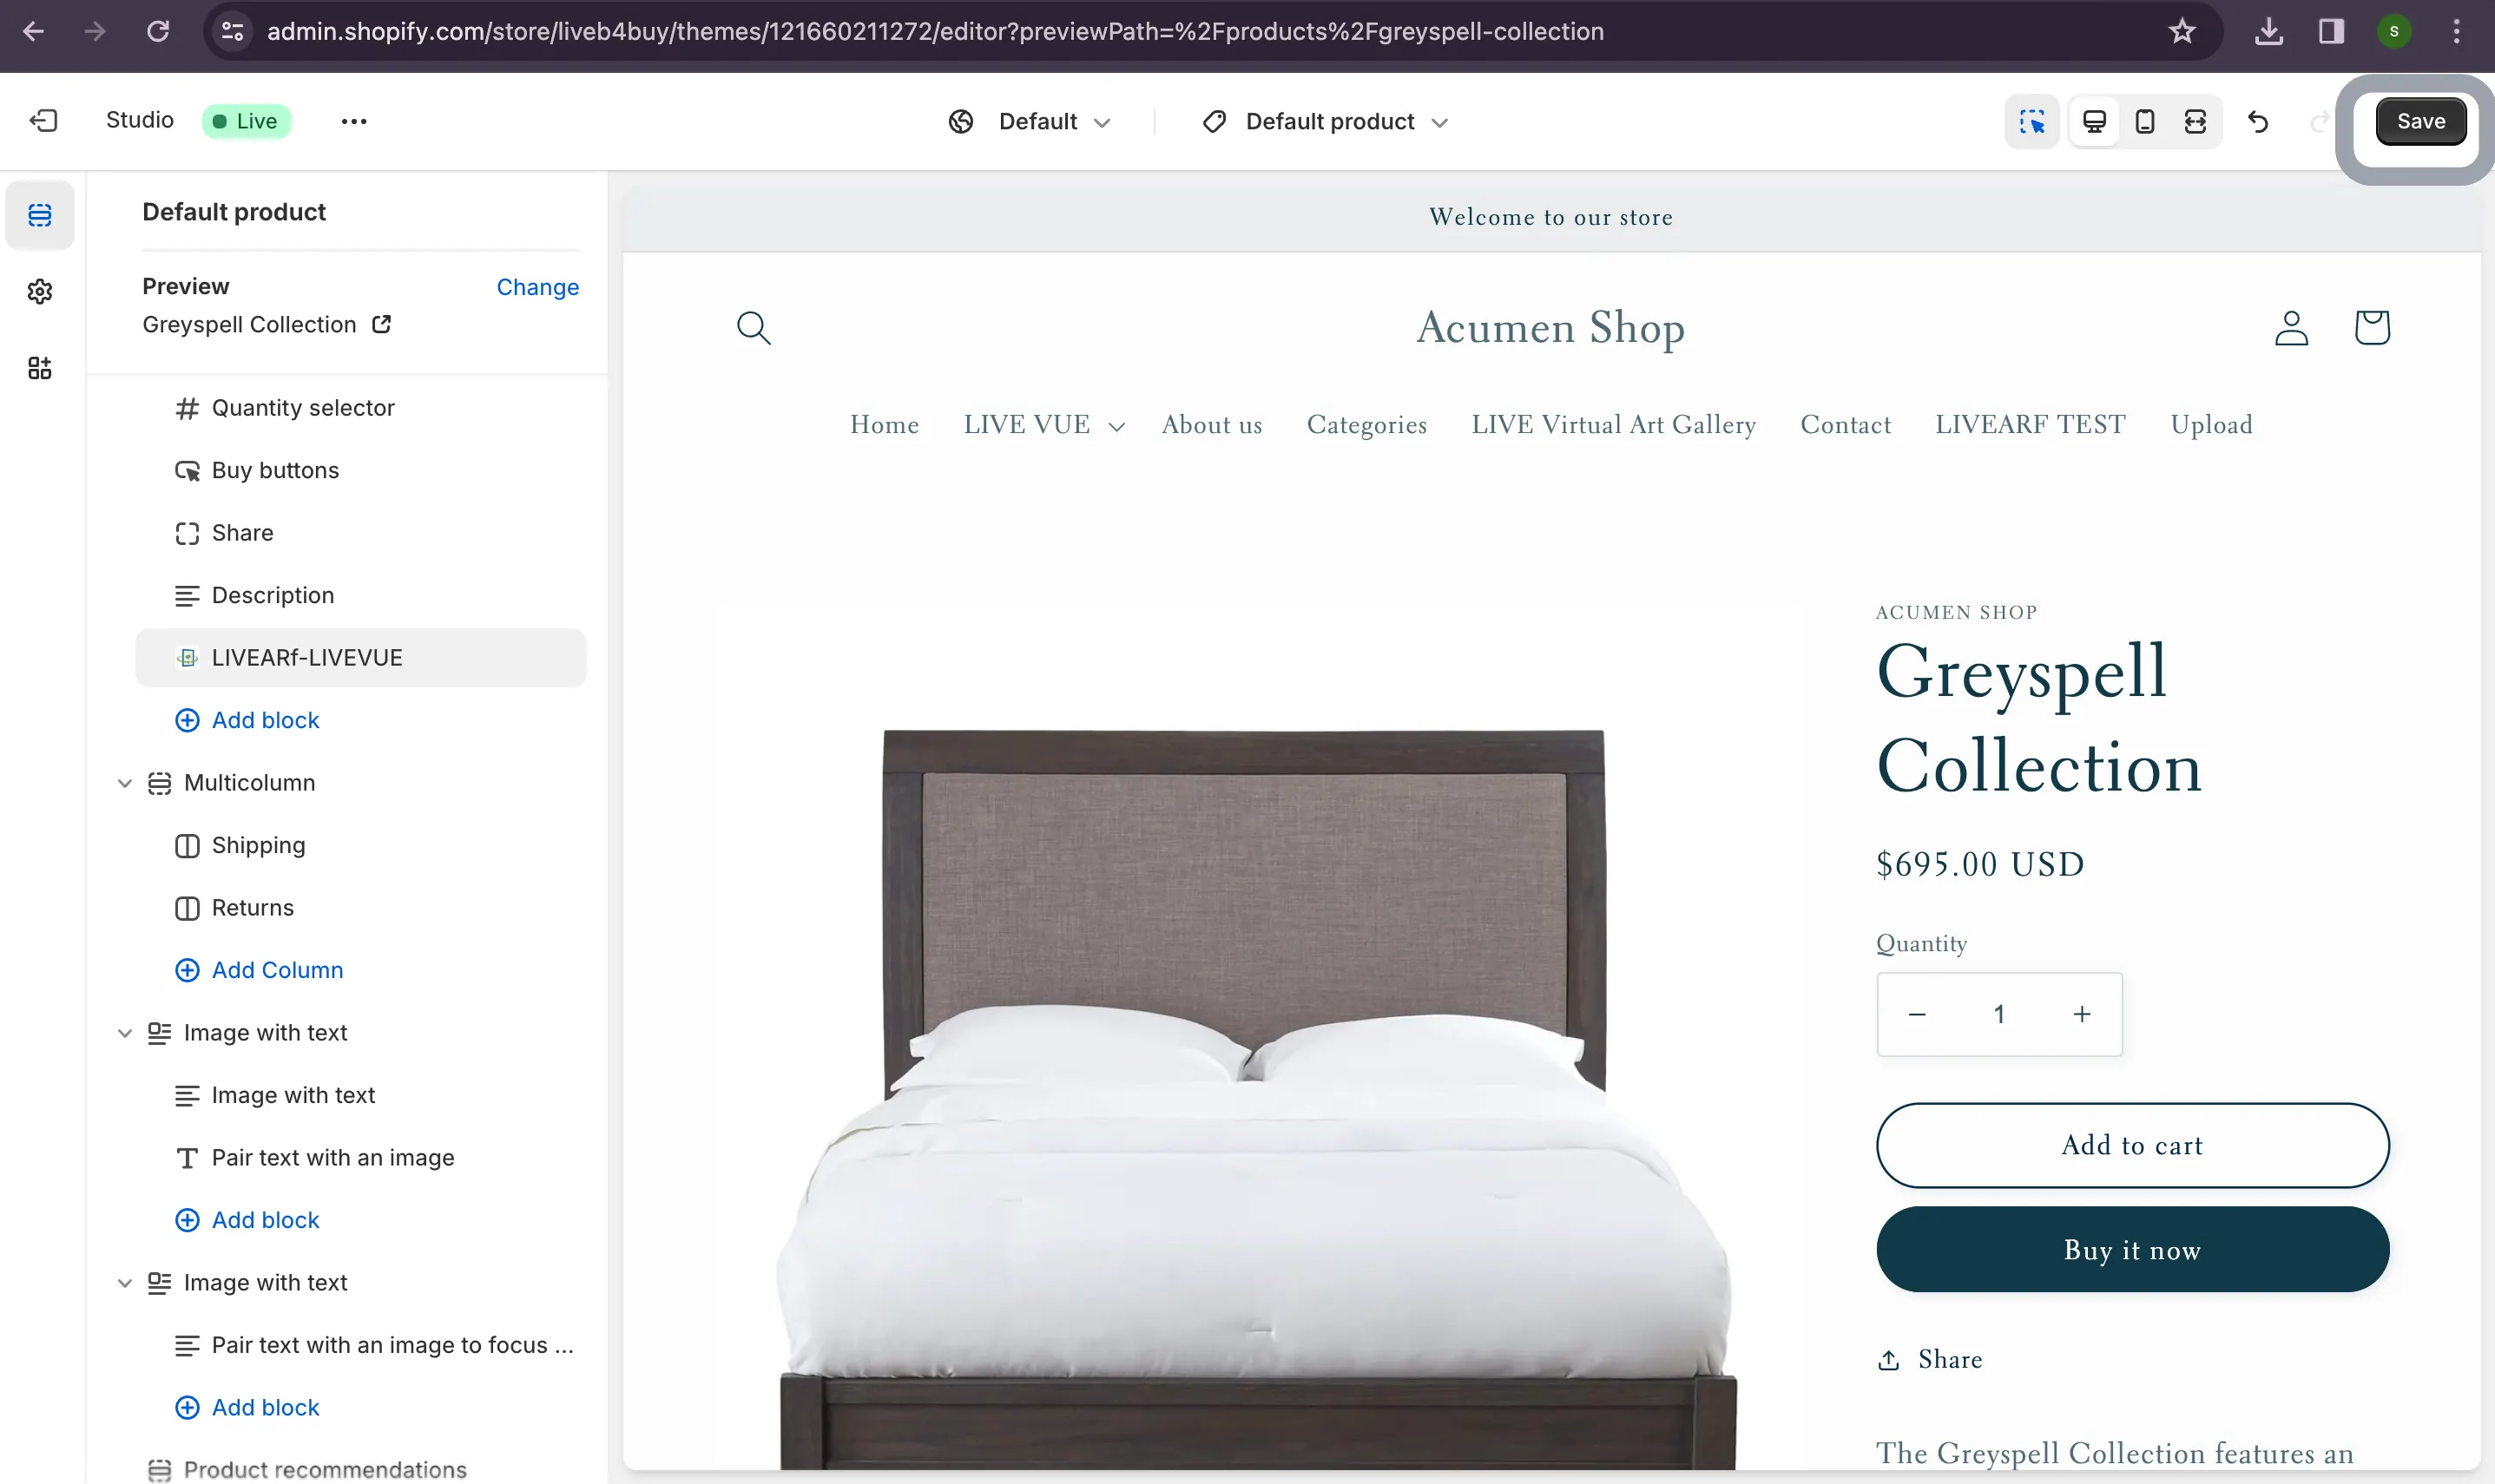
- Add a block to your page and select “Apps.” Then, choose “LIVEARF-LIVEVUE.“

- After configuring the block, click on the “Save” button.
Once these steps are completed, proceed to the LIVEVUE Activation menu. Click “Next” and confirm that your steps have been completed. Finally, click “Save”.

Step 3: Proceed to the LIVEVUE-Activation tab and click the “Verify my Store Theme” button to initiate theme verification. Our LIVEARF application comes pre-integrated with Some Themes.

Step 4: After successful verification, you’ll gain access to seven different products: Artwork Framing, Picture Framing, Mirror Framing, Canvas Wrap, Acrylic HD, Split Images, and Circular Framed Artwork. Each product offers three different pricing configurations:
- “Shopify Pricing” (Set up in Shopify)
- “Predefined Pricing” (Set up in LIVEARF)
- “Custom Pricing” (Set up in LIVEARF).
For further details, refer to knowledgebase. Choose the pricing configuration that best suits your preferences and needs.

Step 5: Click on the “Start Process” button, then select “Yes” to initiate category creation.


Step 6: Progress through category creation, product creation, option setups, and pricing setups. Once all these configurations are completed, the selected product will be listed below.

Step 7: Simply click the “Click to Visit” button to see the virtual framing based on your chosen product.

Behold Your Product with Customized Framing in Virtual Reality! 🖼️✨

Happy selling! 😊