Pricing Calculation
LIVEARF Pricing configuration
- Pre-Defined Pricing
- Custom Pricing
1. Pre-Defined Pricing:
Pre-defined pricing serves two purposes:
First, it displays the default pricing for framing features, providing a baseline cost for the selected options.
Second, it shows the total value of price calculated based on the size combinations with other selected features like matte, frames, frame styles, etc. This pre-defined pricing is utilized by our customers in real-time for their frame purchases.
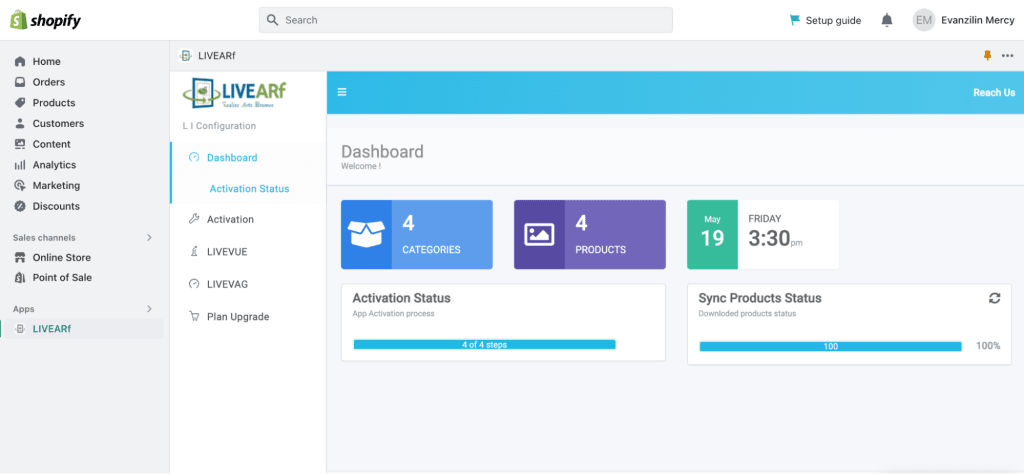
STEP 1:
Go to the LIVEARF App.
STEP 2:
At first, you need to show your Framing features such as Frame color, Frame style, Mat, and others on your website. For that, you have to add your Framing features in LIVEVUE configuration.
Click on the LIVEVUE link at the left side and then Click on the LIVEVUE configuration link within it.
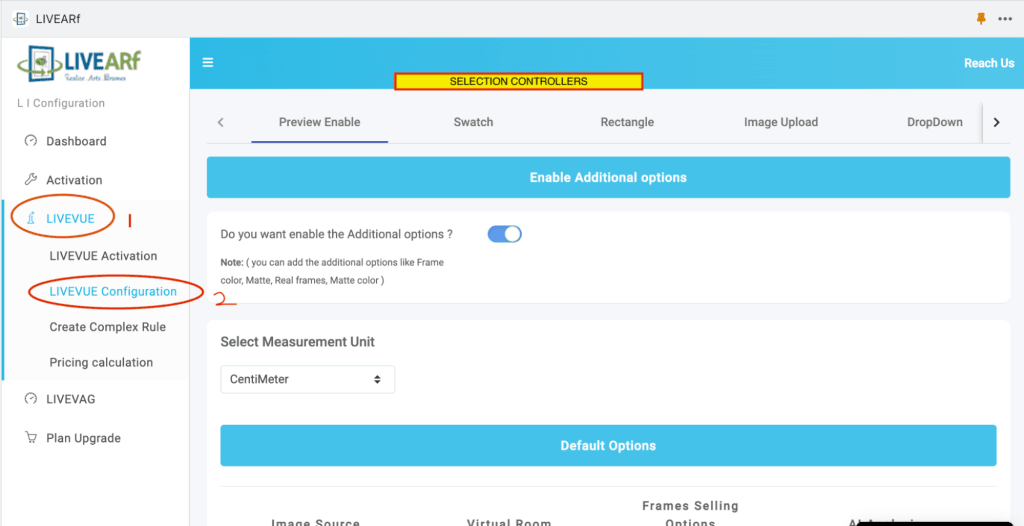
You can present your framing feature using these selection controllers:
1. Preview Enable:
- First enable the additional options.
- Choose the desired Measurement Unit from the dropdown menu (Centimeters/Inches).
- Tick mark the category for which the pricing is being modified.
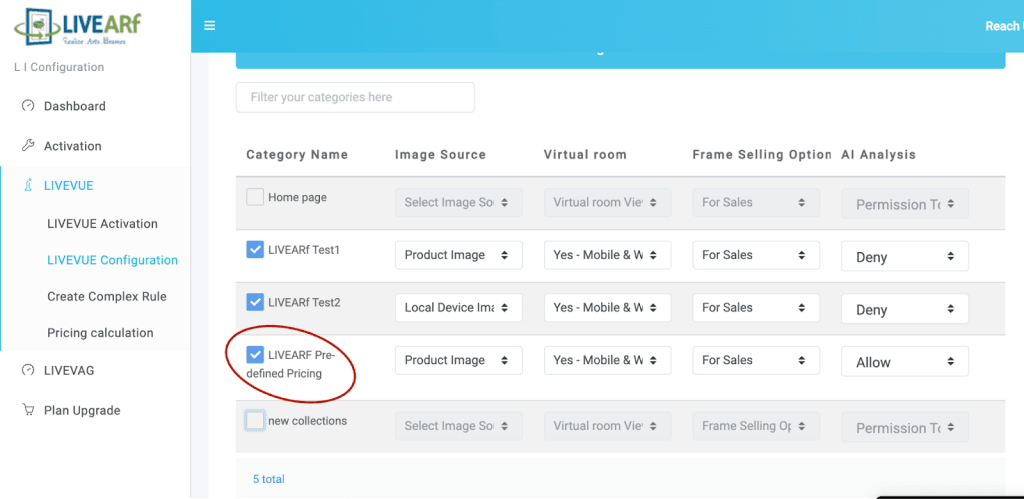
- For the Image Source, select either Product Image (images are available in the store) or Local device image upload (to choose file from the local device).
- For Virtual Room, select “Yes – Mobile & Web” as both Mobile and Web views are available for the Store Front view.
- Select any one of the Frame Selling Options.
- Allow permission to AI Image Analysis option.
2. Swatch: “Swatch” typically refers to a small sample or representation of the available frame finishes or colors. Users can select different swatches or color options for the frame, allowing them to visualize how different colors would look with their artwork.
3. Rectangle: This selection controller enables users to choose specific framing elements like matting options, frame materials, or finishes from the Rectangle box.
4. ImageUpload: Users have the ability to upload their own images or artwork to see how it would look within the selected frame style.
5. DropDown: This selection controller enables users to choose specific framing elements like matting options, frame materials, or finishes from a dropdown list.
6. Text: Users can input custom text or descriptions related to their framing preferences or requirements, providing additional details or instructions.
7. Radio Button: Users can select from multiple predefined options, such as different frame thicknesses or styles, by clicking on radio buttons to make their choice.
By incorporating these selection controllers, customers can have a more interactive and personalized experience when selecting framing features for their artwork or photographs.
You can present your framing features using these options as you can see below.
Demo:
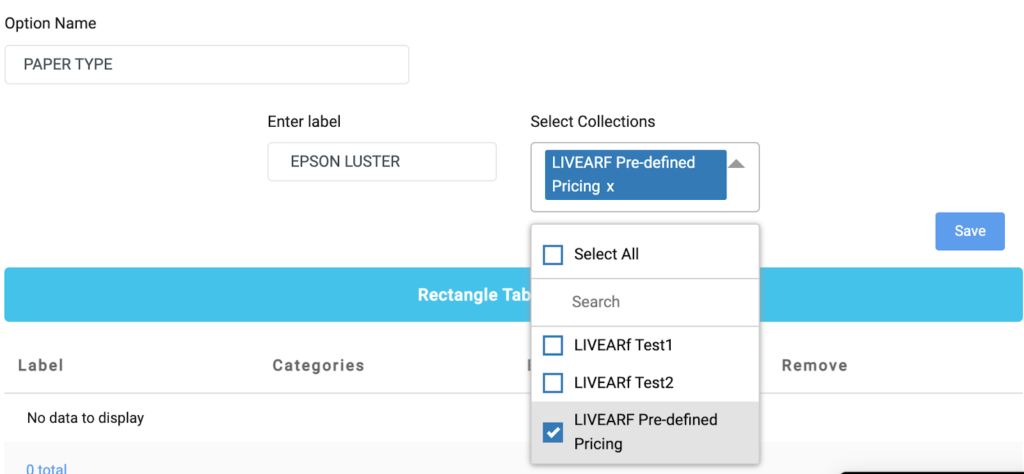
1. In the Rectangle selection controller:
– “PAPER TYPE” was added in the Option Name text box
– “EPSON LUSTER” was added as one of the paper types in the Enter label text box.
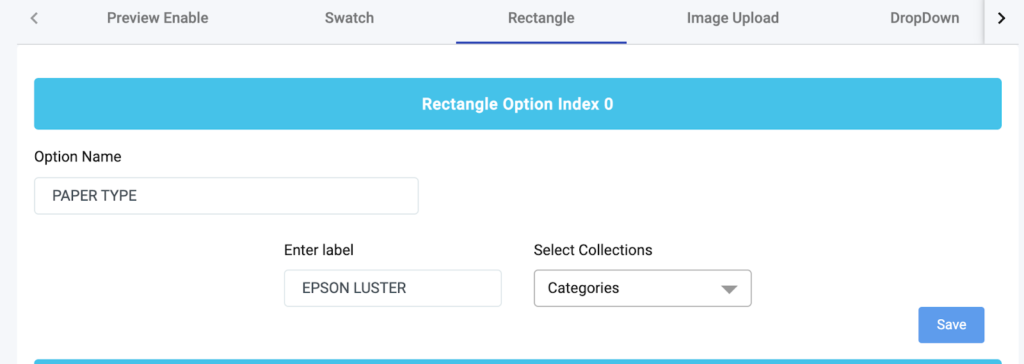
2. Category: “LIVEARF Pre-defined Pricing” was selected, and the Save button was clicked to save the pricing information for this category.
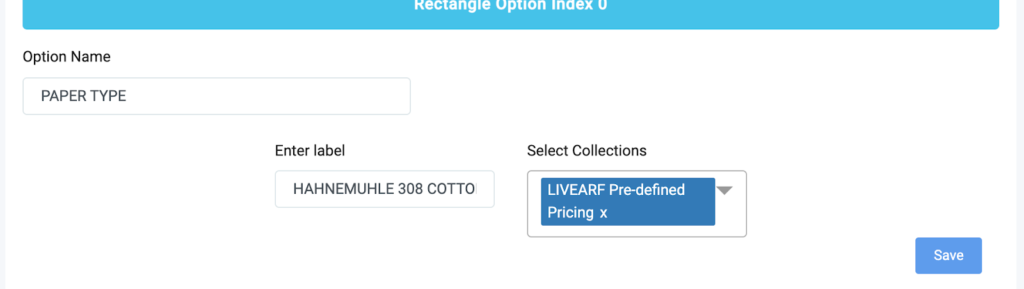
3. Furthermore, two more varieties of paper type were added:
– “HAHNEMUHLE 308 COTTON RAG”
– “EPSON COLD PRESS BRIGHT”
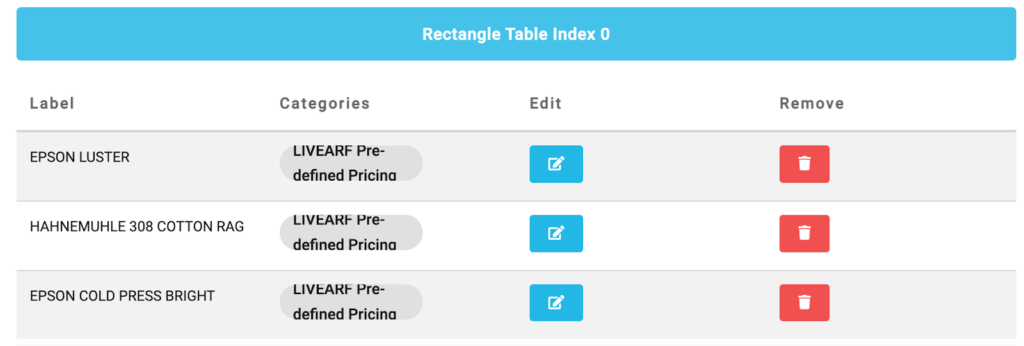
4. After clicking the Save button, the entered items are now listed below with their respective categories.
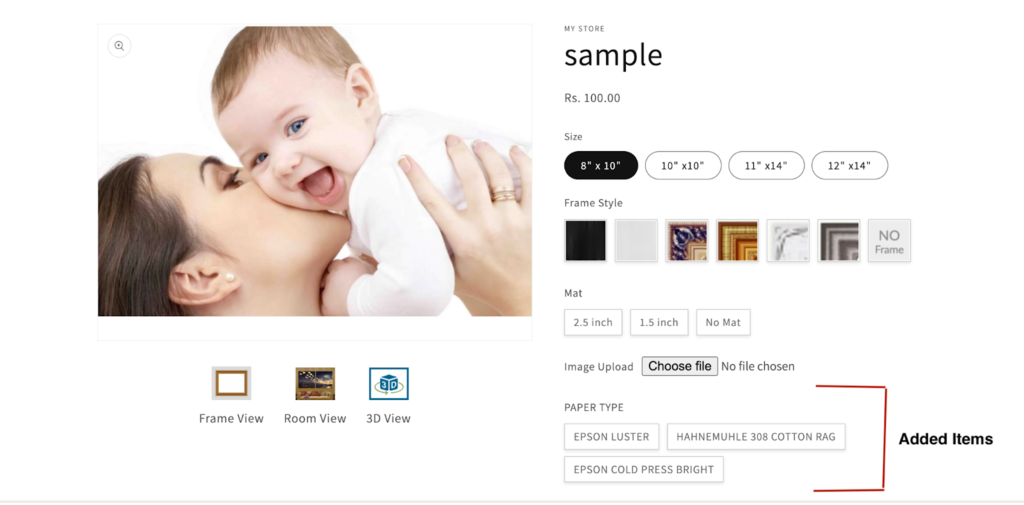
5. Customer view is shown in the picture.
If you have any specific features or values/varieties you would like to add on your website, you can do so according to your preferences in the LIVEVUE configuration.
STEP 3:
Once the LIVEVUE configuration is complete, you have the option to set your default pricing or add pricing based on product sizes.
Click on the “Pricing calculation” link on the left side
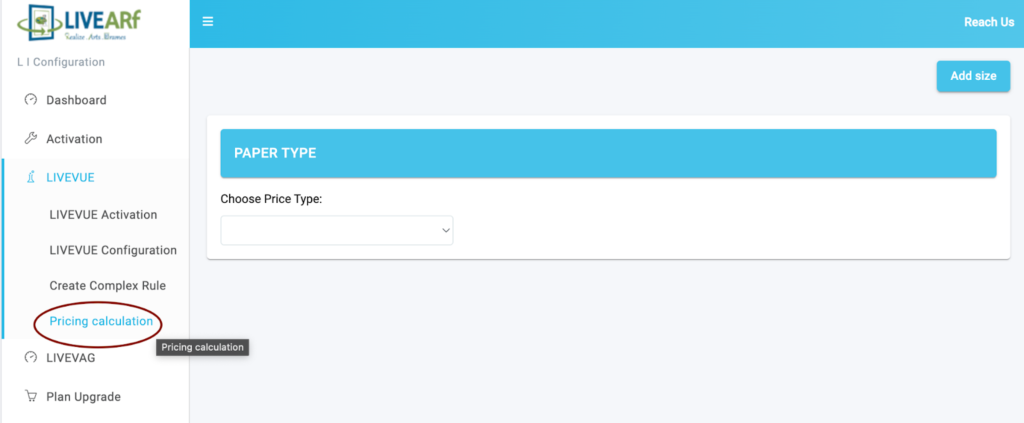
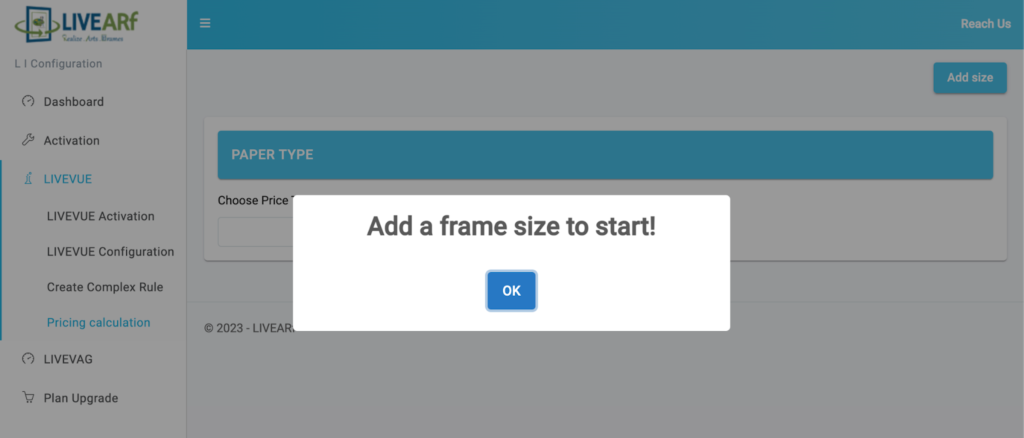
Once the page loads, look for the “Ok” button and click on it to confirm your selection.
On the pricing calculation page, find the option to choose the price type and select “Pre-defined” from the available options.
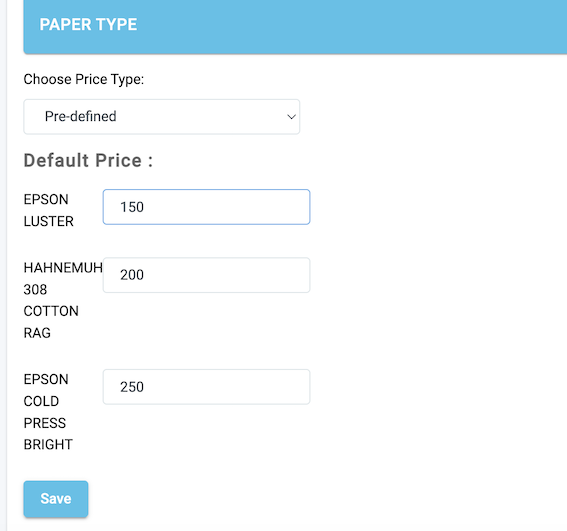
After selecting the price type, you can proceed to add default prices for your varieties.
When you select a specific framing element, the default prices associated with that element will be automatically added to the displayed price on the website. This means that the base price for the selected framing element will be included in the total price calculation shown to the customers.
Price with a size combination:
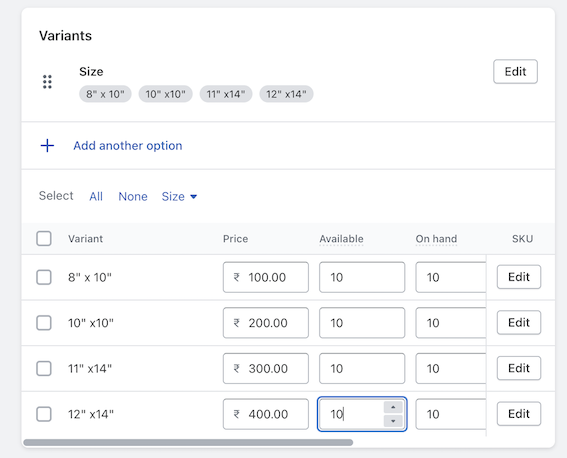
First you need to add sizes in Shopify. When adding a product in Shopify, you can include the size option as a variant for your product. you can use the measurement units for the size.
some examples:
8 in x 10 in or 8 cm x 10 cm or 8″ x 10″ ..
To set a price with a size combination, follow these steps:
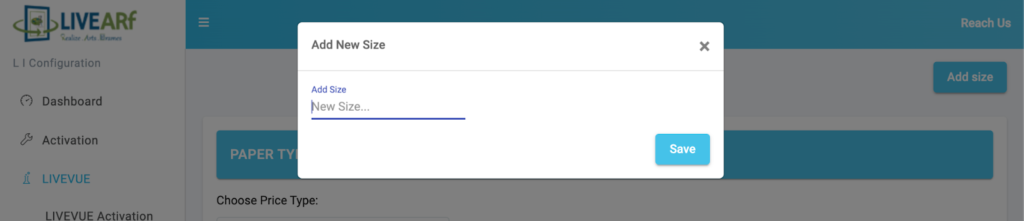
1. On the pricing calculation page in LIVEARF App, click on the “Add size” button located in the top right corner.
2. A pop-up box titled “Add new size” will appear. Enter the size, it’s important to follow the format with Shopify’s size entry.
For example:
If using 8 cm x 10 cm, Enter the size in the format of 8 cm x 10 cm.
If using 8″ x 10″, Enter the size in the format of 8″ x 10″.
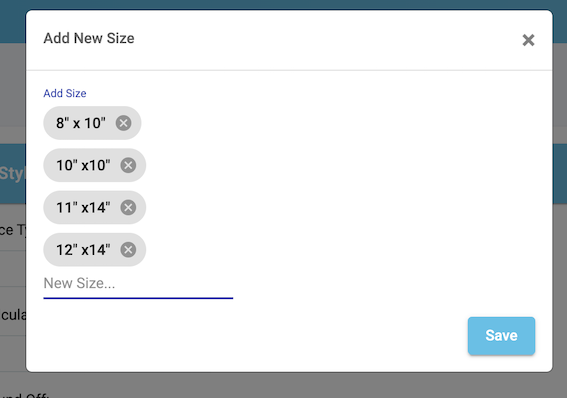
3. Press the Enter key.
4. If there are multiple sizes, repeat the process by entering the next size and pressing the Enter key.
5. Once you have entered all the sizes, click on the “Save” button.
Demo:
- Add size button was clicked.
- Sizes were added and the Save button was clicked.
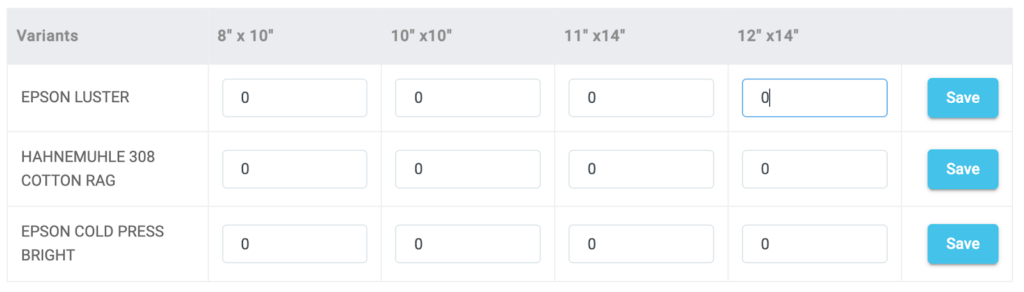
- Framing elements with size combination table were shown at the bottom.
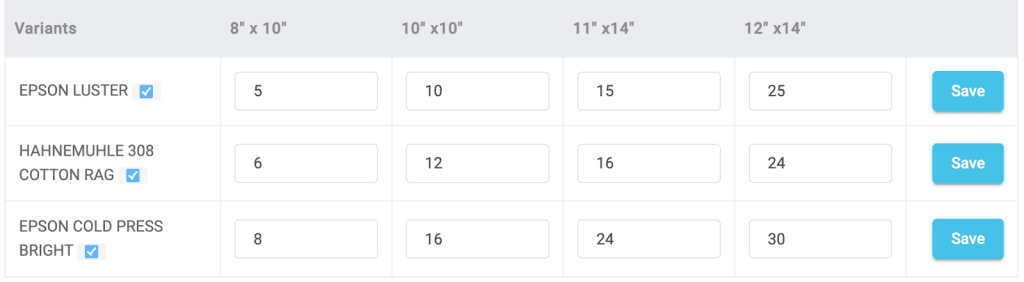
- Prices for framing elements of particular size were entered.
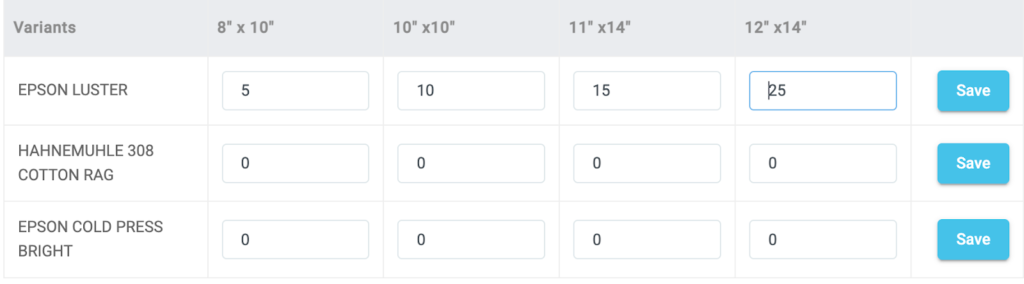
- Save button was clicked. Tick mark shown once it is saved.
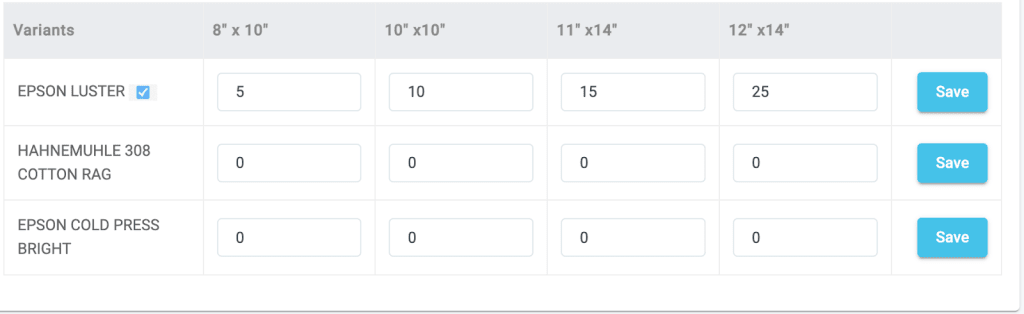
- All prices were entered and saved.
Preview show of website.
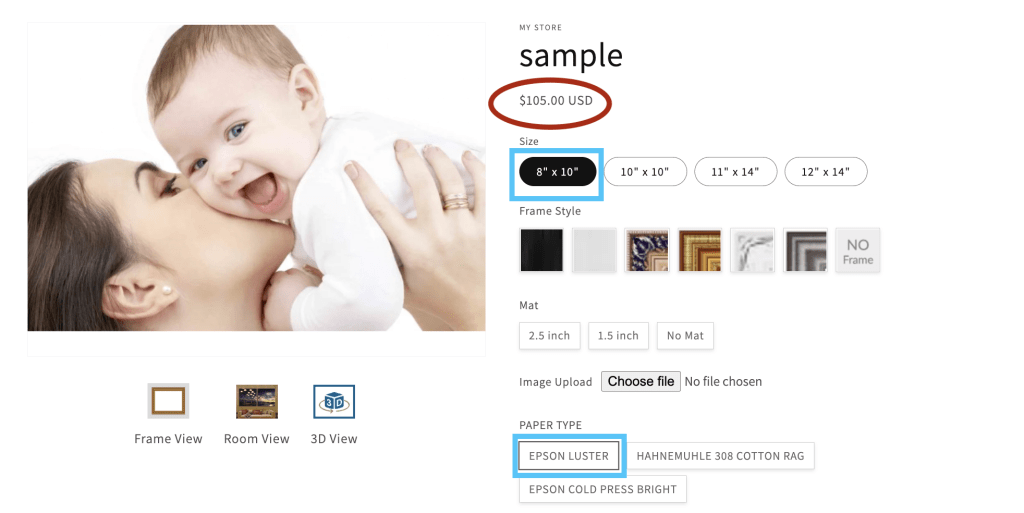
.
Price for 8″ x 10″ is $100
Price for EPSON LUSTER is $5
Total is $105
2. Custom Pricing
Custom Pricing includes linear calculation and area calculation in addition to the combination of size, matte, frames etc., It is called Complex Pricing.
Detailed video is available for the custom pricing calculation.
LInk: Pricing